Prime Time Projects
Tom Warneke -- Jan. 19, 2002
| Prime Time is a 1999 Hunter model 260
sailboat. The picture to the right was taken near the end of
our first season together, before any of the projects were started.
I wanted to get in a season of sailing before making purchase decisions on
equipment and where it should be located. My theory was that by living
with the boat for a while, it would help me realize my needs and improve
the chances of optimizing solutions the first time around to avoid redoing
them later. Original plans included a VHF radio, depth meter and autopilot for electronics, a bimini for shade and lazy jacks to ease sail handling. Additional canvas was ordered for the pop top cover, companion way cover (used to keep water and debris out during storage), pedestal cover and a jib bag that can be used while the jib is still hanked on the fore stay. A pedestal guard was also added to provide a handhold while moving around the cockpit. |

Prime Time on the mooring |

Prime Time at George's Island in Boston Harbor |
I opted not to get the roller furling jib when the
boat was purchased. Trailerability and ease of hauling and launching is of
primary importance and the roller furling adds a little more work to the
setup. The relatively small jib is easy to handle, and a down
haul line was added to lower the jib from the safety of the cockpit. The picture to the left shows Prime Time tied to the dock at George's Island in Boston Harbor while we explore Fort Warren. Bimini |
Bimini shown in up position |
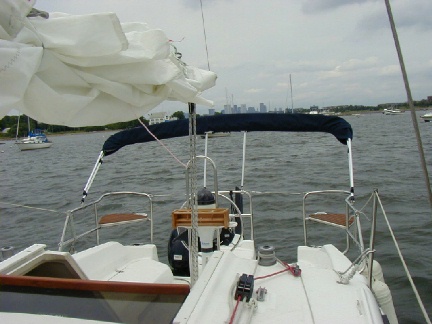
Bimini shown is stowed position |
The Sunbrella top was selected in white for maximum
heat reflection while using the bimini on hot days. The cover is navy
blue to match the sail cover and other canvas provided by Hunter. The
bimini is an Ameriseam product custom fit for the H260. They have products
for many other sailboat brands and sizes, too. It comes complete with
all hardware for installation on the stern rail.VHF RadioThis radio also provides Digital Selective Calling capability and a GPS interface. When connected to a GPS, the radio will broadcast your location and DSC number to identify your boat during an emergency. |
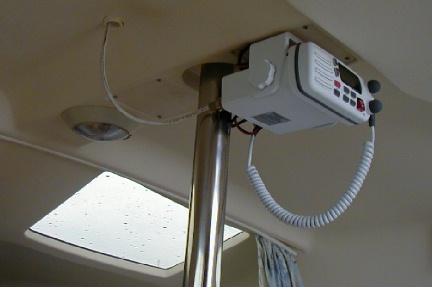
VHF installed just aft of compression post |
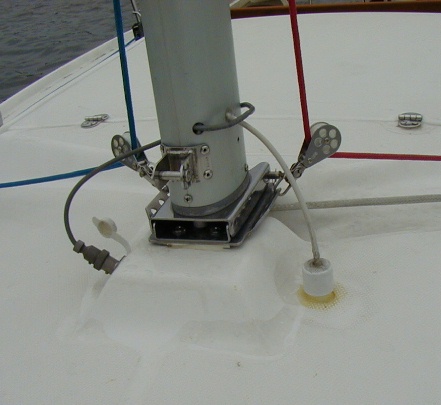
Top side of antenna feed through |
The radio was mounted in the center of the cabin,
over the dinette. This location is easy to access, but doesn't steal
precious head room. It is also under the base of the mast, minimizing
the antenna cable length and making installation easier. The VHF mounting bracket was attached to the existing wiring access plate, and a slot was cut at the edge of the plate to run wire through. Power was fed using dedicated cable back to the power panel using a spare breaker position. The cable runs between the deck and headliner in a conduit already in place for existing wiring. The antenna lead has only two connectors: one at the antenna, one to the back of the radio. Connectors steal valuable signal strength, so the fewer the better. PVC pipe was used to feed antenna wire through deck. The PVC pipe is large enough (1 inch ID) to feed the connector through. Note that the epoxy has yellowed from UV exposure; it needs to be painted with gel coat (Someday!). For a weather tight seal, a hole was drilled in a PVC eend cap and the cable fed through before attaching the connector. The cable is sealed with Silicon sealer. When the mast is down, a plain end cap covers the hole to keep the weather out. |
Depth finderThe back of the display unit encroaches into the head, but is out of the way. You can see the sender wire was fed through the light wire access hole in the picture below. The power and trasnponder cables were run straight down behind the liner in to the bilge. Power was supplied at the panel using a spare breaker position. The transponder is epoxied to the inside of the hull just aft of the bilge pump, under the aft berth. Instructions for installing the transponder this way are included with the unit, and it worked well. |
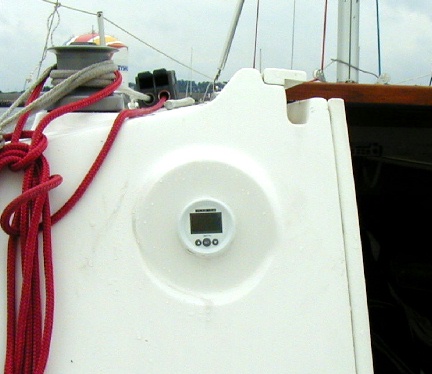
Depth gauge installed in compass pad |
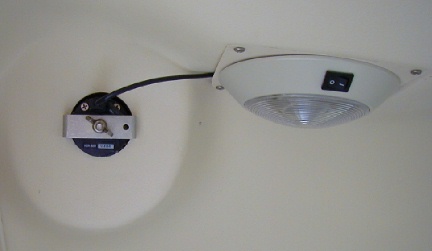
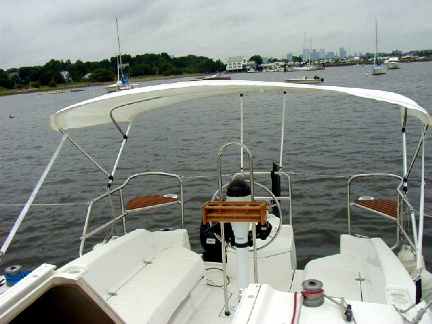
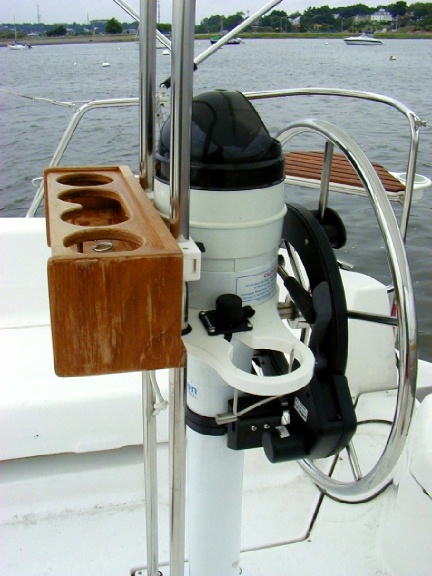
Back view of depth gauge. PedestalThe picture to the right shows the pedestal with guard,
RAM mike (remote control, speaker and mic for VHF) connector, and Simrad
auto pilot. The pilot power was run through the guard tube, and the RAM
cable to the base radio was run through a notch filed into the top of the
pedestal, under the plate.
The Simrad WP10 was selected because it is a self contained unit that is very easy to install. It has fully automatic settings or you can input desired gain and seastate settings. It also has an auto tack feature that will steer the boat though a tack while you handle the sails. |
Pedestal |